Nutanix Objects as Backup Destination
In this section we will setup up Nutanix Objects to serve as a backup destination to backup our wordpress application.
Generating Access Keys
Skip this section if you have already created a Objects user and downloaded the access and secret keys.
For example: ocpuserXX user from the previous section of the lab could be used here instead of creating a new one.
Generate access keys if you haven't done it already.
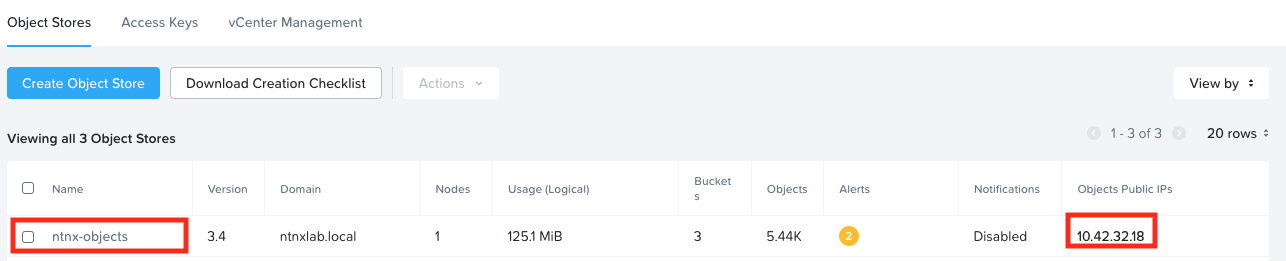
Go to Prism Central > Objects
Note down the ntnx-objects object store's public IP
On the top menu, click on Access Keys
Click on + Add people
Select Add people not in a directory service
Enter your email (ocpuserXX@ntnxlab.local) and name (ocpuserXX) (if you haven't already configured this part)
Click on Next
Click on Generate Keys
Once generated, click on Download Keys
Once downloaded, click on Close
Open the downloaded file to verify contents
Username: ocpuserXX@ntnxlab.com
Access Key: t1FzWhILj_CxU4NGNcWzZ0hW-xxxxxxx
Secret Key: KbGdgYMoaYx1DnIJ6gTgu-xxxxxxxxxx
Display Name: ocpuserXX
Tag: buckets-access-key-xxxxxxxxxxxxxxxxxxxx
Create Buckets for Backup Destination
We will create a bucket for backup destination
On the top menu, click on Object Stores
Click on ntnx-objects, this will open objects store management page in a separate browser tab
Click on Create Bucket
Enter Initials-k10 as the bucket name
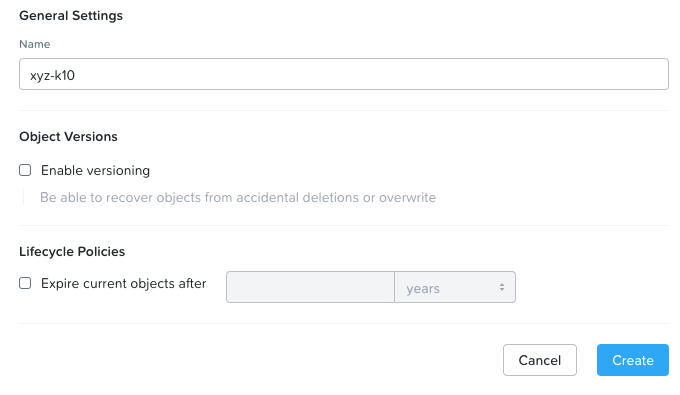
Click on Create
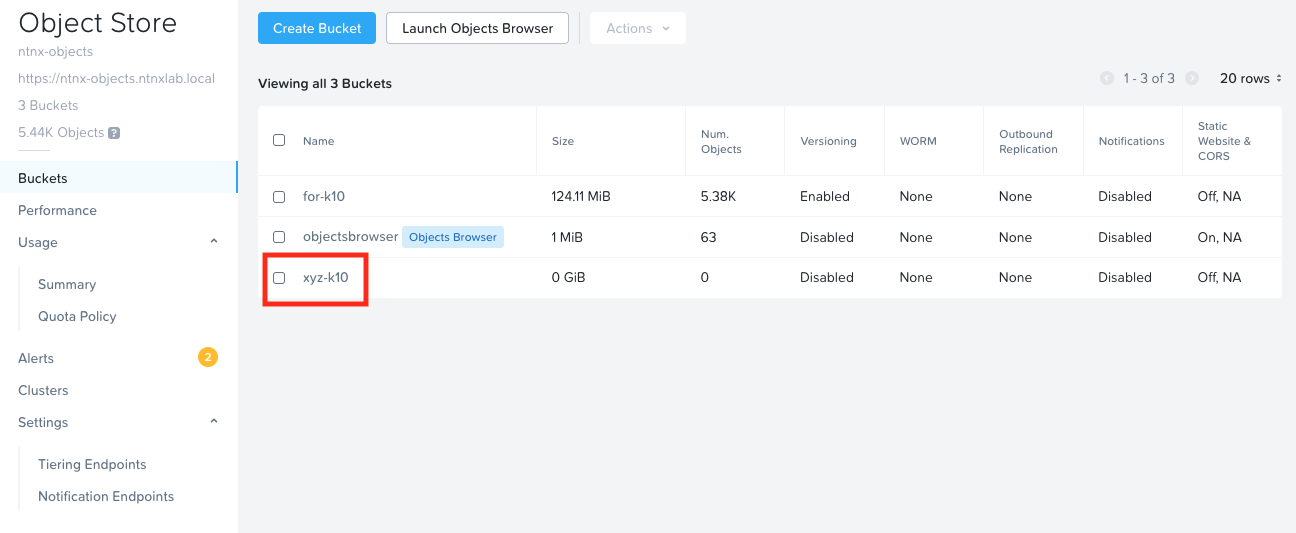
In the list of buckets, click on the Initials-k10 bucket
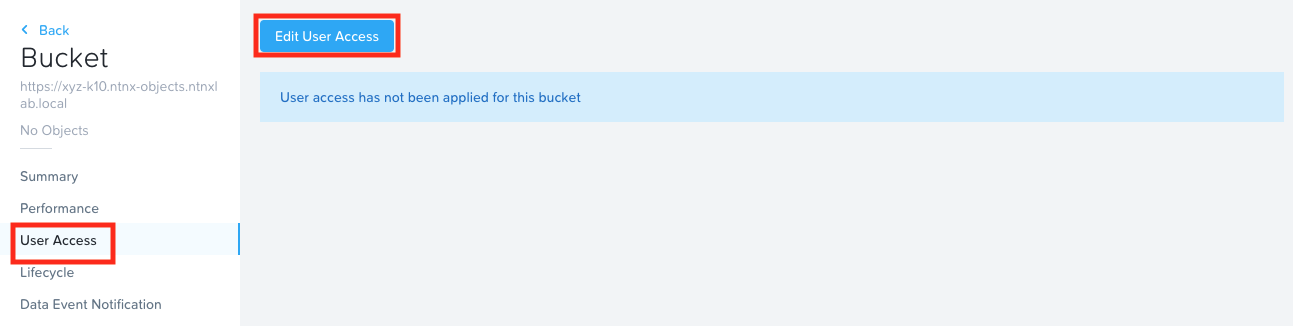
Click on User Access menu and Edit User Access
In the Share Bucket xyz-k10 window, type in your email that you configured in User Access section
Give Full Access permissions
Click on Save
You have now provisioned a S3 bucket to store backups of the application which you will deploy in the next section.